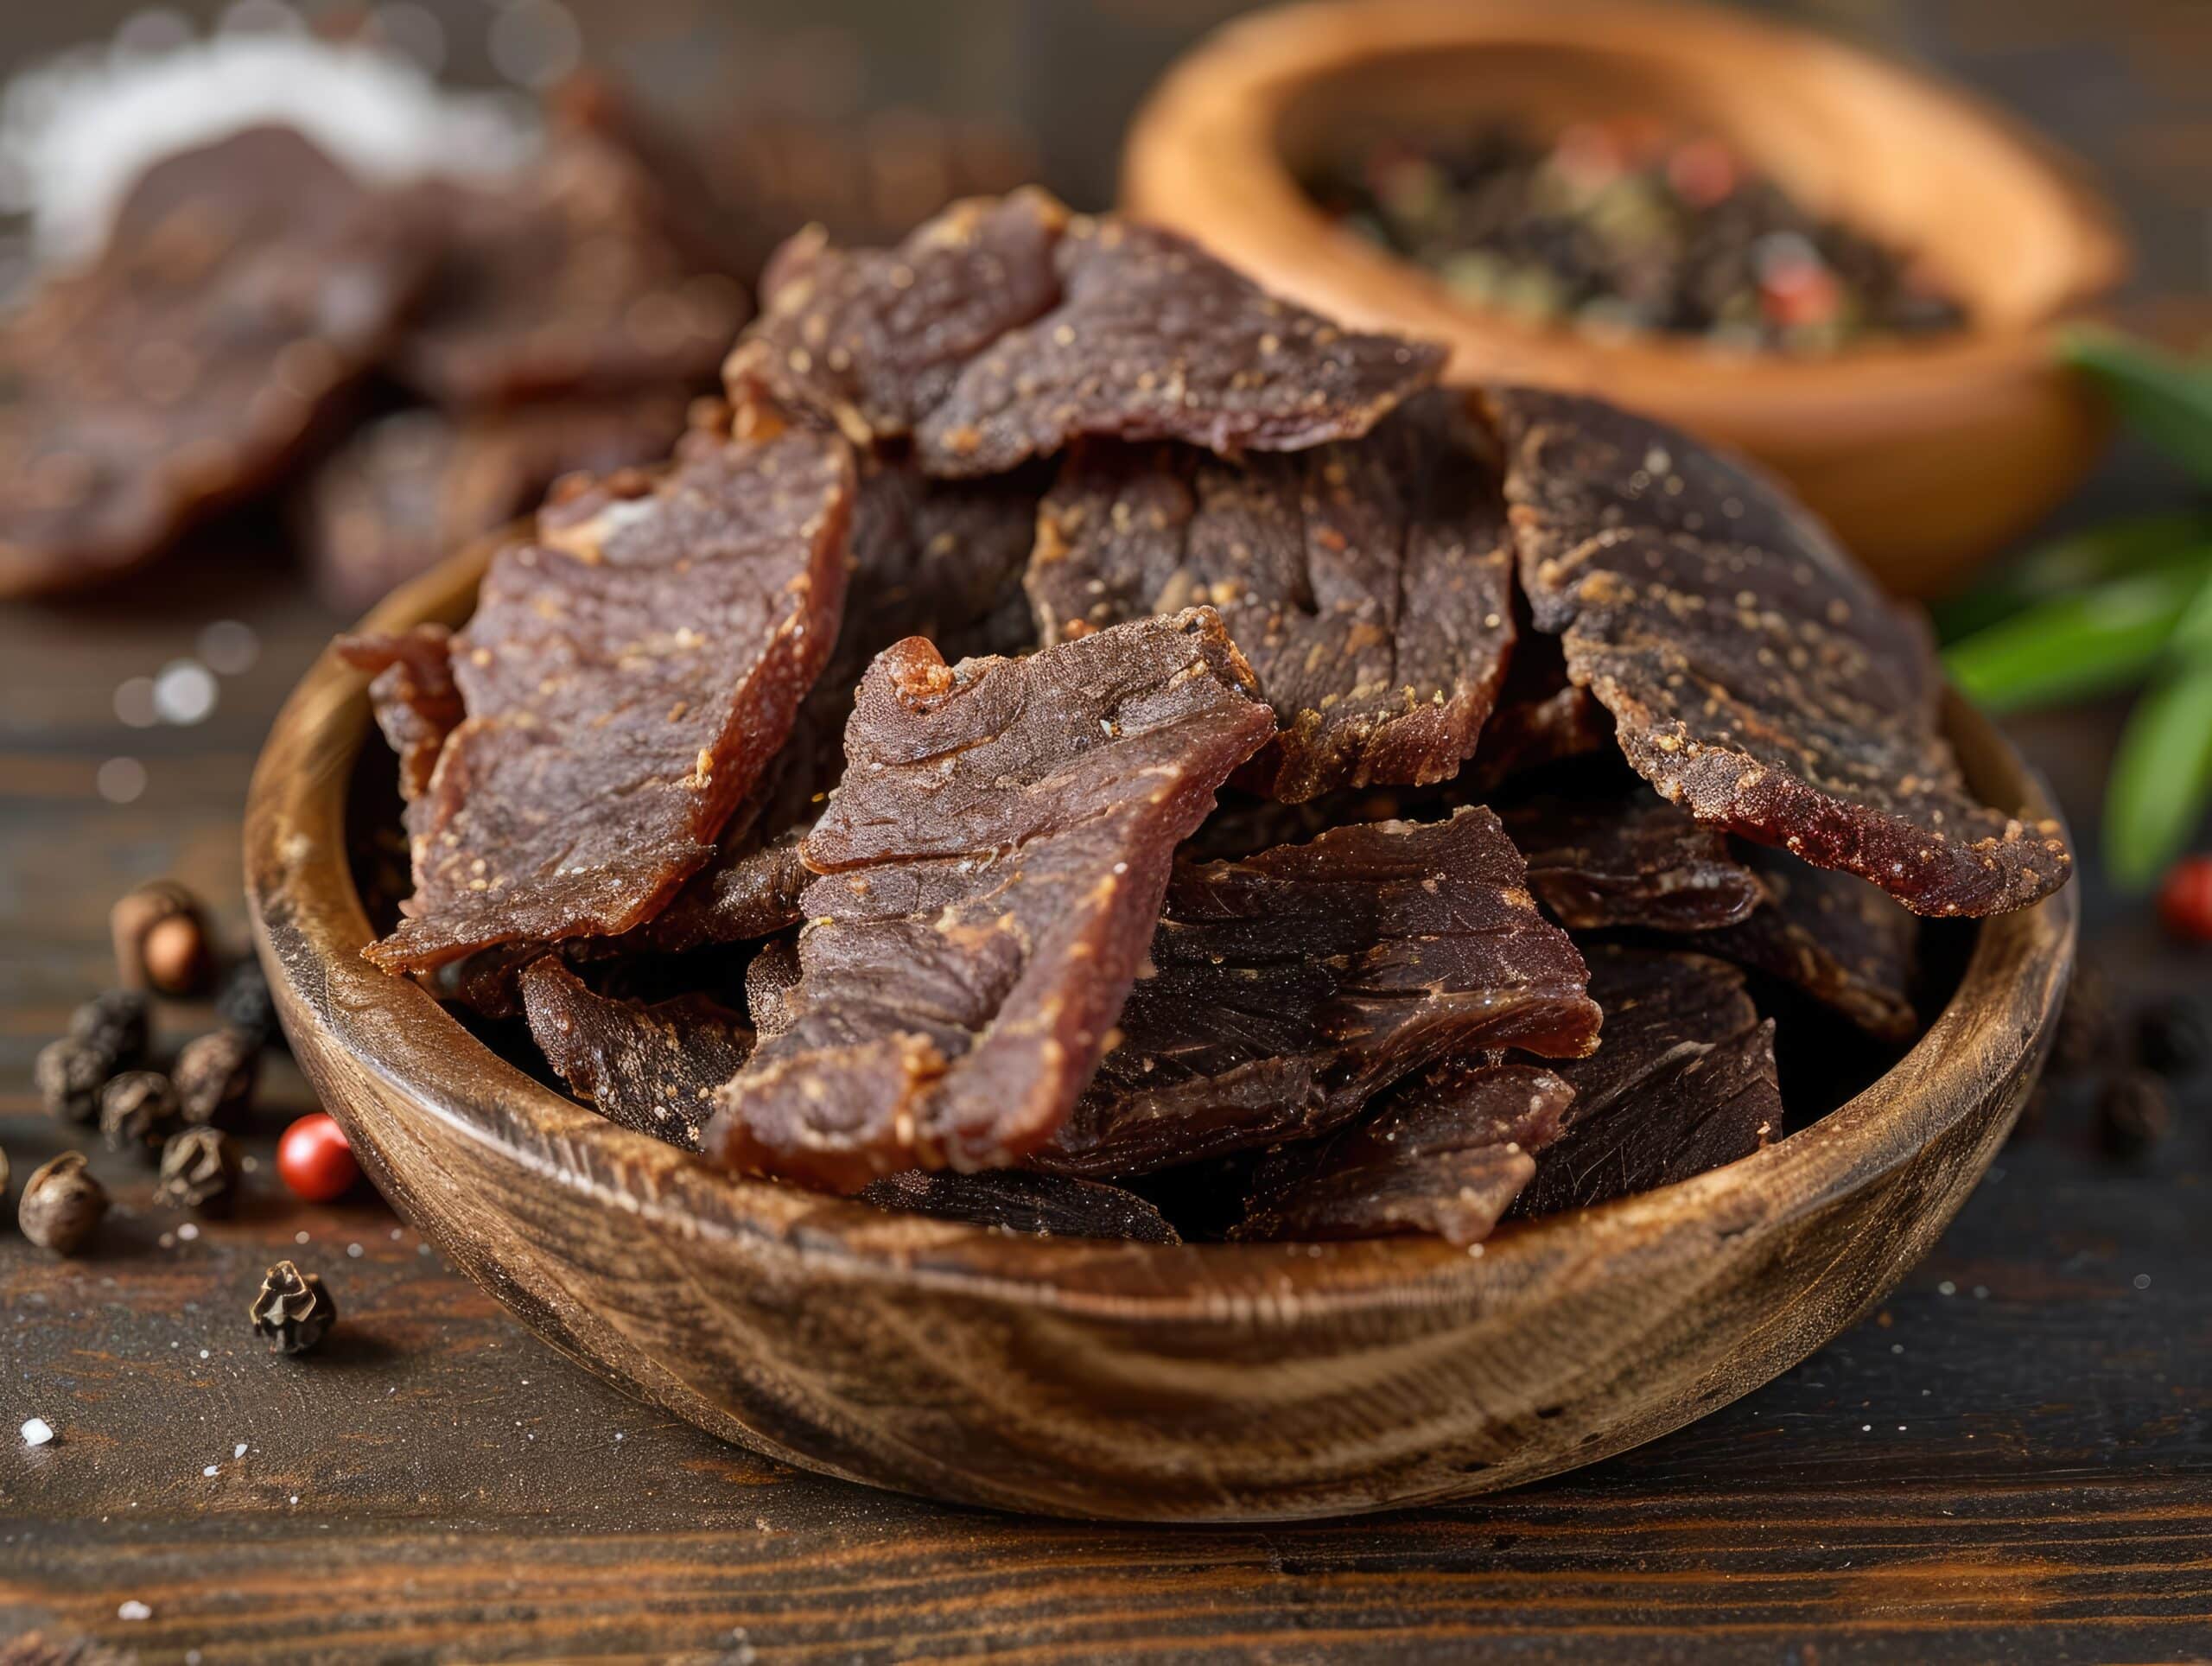
The first time I tried Thai beef jerky (Neua Dad Deaw), I was hooked! Unlike the chewy, dried beef jerky I was used to, this Thai version was crispy on the outside, tender on the inside, and packed with bold, savory flavors.
Unlike traditional American jerky, Thai beef jerky is sun-dried and then deep-fried, giving it a unique texture and irresistible crunch. It’s a popular street food in Thailand, often served with sticky rice and spicy dipping sauces. If you’re curious about Thai culinary traditions, check out this insightful guide on Thai food culture.
So, if you’re ready to make authentic Thai beef jerky at home, let’s get started! This recipe is easy to follow, and you can sun-dry, oven-dry, or air-dry your beef before cooking.
What you will find in this article:
What is Thai Beef Jerky (Neua Dad Deaw)?
Thai beef jerky, or Neua Dad Deaw, literally means “single sun-dried beef.”
✔ Traditionally, beef is marinated, sun-dried, and then deep-fried.
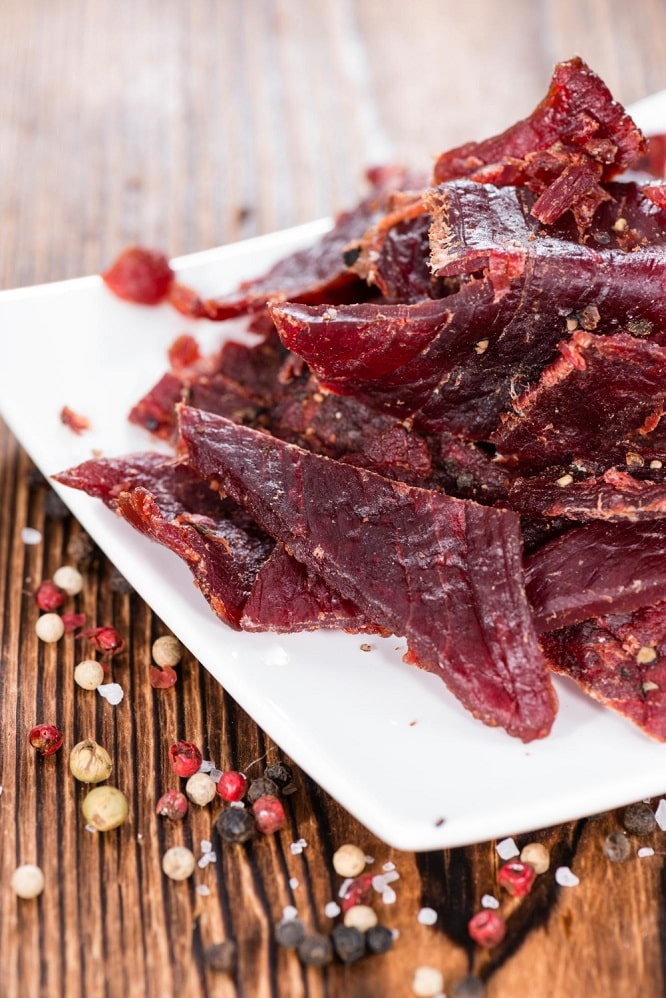
✔ The texture is crispy outside, tender inside—different from the chewy, dry texture of Western jerky.
✔ It’s a popular Thai snack and is often served with sticky rice and Nam Jim Jaew (spicy dipping sauce).
The History of Thai Beef Jerky
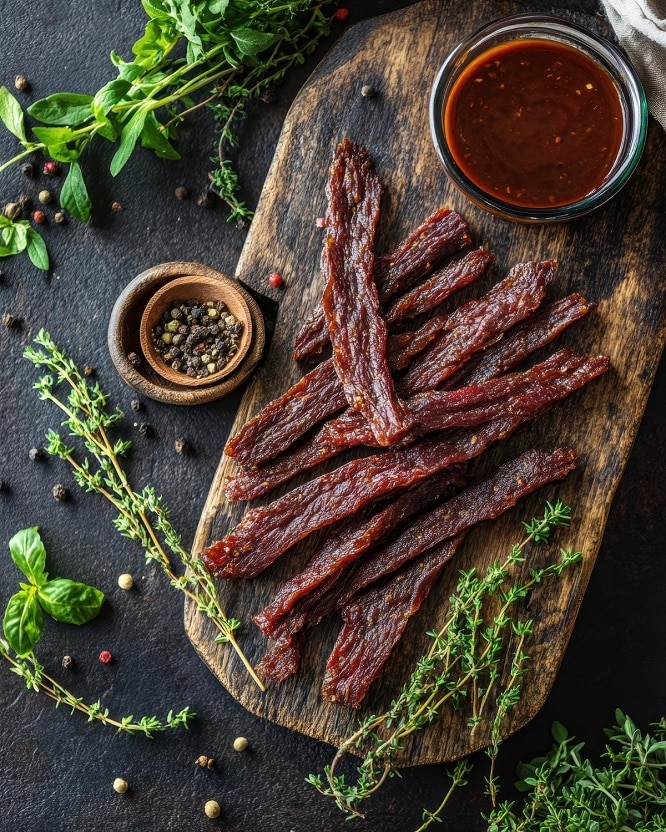
This dish has deep roots in Thai culinary tradition and has been enjoyed for generations. Unlike American-style jerky, which is typically dehydrated for long-term storage, the Thai version is sun-dried and then fried, giving it a crispy outside and tender inside.
Ancient Preservation Method: The Origins of Neua Dad Deaw
In rural Thailand, where refrigeration wasn’t always available, people needed a reliable way to preserve meat for long journeys and storage. The solution? Sun-drying.
✔ The name Neua Dad Deaw literally translates to “single sun-dried beef”, referring to the process of drying the beef under the hot sun for a short period before cooking.
✔ Farmers and travelers would sun-dry strips of beef, allowing them to store and transport food easily without it spoiling.
✔ This natural drying process also concentrated the flavors, making the beef taste even richer after frying.
The Rise of Thai Beef Jerky as Street Food
Over time, this recipe evolved from being just a preservation method into a popular street food snack. As Thailand’s street food culture flourished, vendors began:
✔ Selling crispy, golden-fried beef strips at local markets.
✔ Pairing Neua Dad Deaw with sticky rice and spicy dipping sauces like Nam Jim Jaew (tamarind chili sauce).
✔ Adding flavorful marinades with fish sauce, garlic, coriander, and white pepper, enhancing the taste.
Thai Beef Jerky Goes Global
With the rise of Thai restaurants and food culture worldwide, the beef jerky has become a favorite snack beyond Thailand. Today, you can find it:
✔ In Thai restaurants around the world, often served as an appetizer.
✔ Sold as pre-packaged snacks in international grocery stores.
✔ Made at home by food lovers recreating authentic Thai flavors.
Even though modern cooking methods (like ovens and dehydrators) are used today, many people in Thailand still prefer the traditional sun-drying technique, believing it creates the best texture and taste.
Thai Beef Jerky Recipe
For the Beef:
- 1.5 lbs beef round or top sirloin (thinly sliced into strips)
- 3 tbsp fish sauce
- 2 tbsp soy sauce
- 1 tbsp oyster sauce
- 1 tbsp sugar
- ½ tsp white pepper
- 1 tsp crushed coriander seeds
- 4 garlic cloves, minced
For Cooking & Serving:
- 1 cup vegetable oil (for frying, optional)
- Sticky rice (to serve)
- Spicy dipping sauce (see below!)
Ah I almost forgot, if you’re looking for tips on What Is the Best Way to Cook a Club Steak?.. visit my detailed guide.
How to Make it? (Step-by-Step Guide)
1️⃣ Slice the Beef
- Cut against the grain into ½-inch wide strips (this keeps the jerky tender).
2️⃣ Marinate the Beef
- In a bowl, mix fish sauce, soy sauce, oyster sauce, sugar, white pepper, coriander seeds, and minced garlic.
- Add the beef, coat evenly, and let it marinate for at least 2 hours (overnight is best!).
3️⃣ Sun-Dry the Beef (Traditional Method)
- Lay beef strips on a wire rack under direct sunlight for 2-3 hours until slightly dry.
- If drying indoors, use an oven at 170°F for 3 hours or a dehydrator at 140°F for 4-6 hours.
4️⃣ Cook the Jerky
- Deep-Fry: Heat 1 cup vegetable oil in a pan and fry beef for 30-60 seconds until golden brown.
- Oven Method: Bake at 375°F for 20 minutes, flipping halfway.
5️⃣ Serve & Enjoy!
- Serve with sticky rice and spicy dipping sauce.
- Garnish with fried garlic or toasted sesame seeds for extra crunch!
The Best Dipping Sauces for Thai Beef Jerky
It tastes even better with a dipping sauce! Here are three classic choices:
✔ Nam Jim Jaew (Spicy Tamarind Sauce) – A tangy, smoky chili sauce that enhances the umami flavor.
✔ Sweet Chili Sauce – A balance of sweet, tangy, and spicy flavors.
✔ Garlic-Lime Fish Sauce Dip – A bright, umami-rich sauce that cuts through the richness.
What to Serve with Thai Beef Jerky
Traditional Pairings:
✔ Sticky Rice – The perfect side to balance the bold flavors.
✔ Papaya Salad (Som Tam) – A refreshing, tangy contrast.
✔ Steamed Vegetables – Light, simple sides like broccoli or bok choy.
Drinks to Pair with:
✔ Thai Iced Tea – A sweet, creamy drink to balance the spice.
✔ Chilled Beer – Complements the savory umami flavors.
✔ Lime Soda – A refreshing, citrusy option!
Nutrition Facts (Per Serving)
🥩 Calories: ~250
💪 Protein: 30g
🔥 Fat: 10g
🧂 Sodium: 750mg
How to Store & Preserve Thai Beef Jerky
✔ Fridge: Store in an airtight container for up to 1 week.
✔ Freezer: Freeze for up to 3 months.
✔ Reheating: Warm in a dry pan or microwave for 30 seconds.
Expert Tips for the Best Beef Jerky
⭐ Use lean cuts of beef—fat causes spoilage.
⭐ Sun-dry for authentic flavor or use low heat in the oven.
⭐ Don’t skip the marinade—it’s what gives the jerky its bold, umami flavor.
Frequently Asked Questions (FAQs)
Can I make Thai beef jerky in a dehydrator?
Yes! Set to 140°F for 4-6 hours, checking for dryness.
Is Thai beef jerky spicy?
It can be! Adjust chili flakes to your preference.
Do I have to deep-fry the jerky?
No! You can bake at 375°F or air-fry at 350°F for 15 minutes.
Final Thoughts: Why I Love it?
Thai beef jerky is one of my favorite snacks—crispy, chewy, and bursting with flavor! Whether I’m meal-prepping for the week or enjoying it with sticky rice, this jerky never disappoints.
If you try this recipe, share your experience in the comments below!

